
After passing from Jake’s ownership to mine back in the mists of time, Freida had been mothballed awaiting a suitable juncture at which to continue her restoration. This occurred in late 2020 when she was trailered to the Brundall workshop. Below is the first installation of a YouTube mini-series charting the ongoing works.
Tag Archives: tractor
Ransomes TS-82

The latest addition to the fleet, should enable us to actually have “one wheel in the furrow”.
The Ransomes TS-82 is a two furrow reversible plough. It has a manual trip (uses its own momentum and pre-load from drop arms) to rotate, as opposed to a hydraulically reversed plough.
The plough is heavier than I expected, the Nuffield’s steering’s a tad light at the moment. So I’m either going to build a weight frame of find some suitable wheel weights.
Loading up the Kubota
With the majority of the mechanical work completed the Kubota heads home for the final stages of reconditioning.
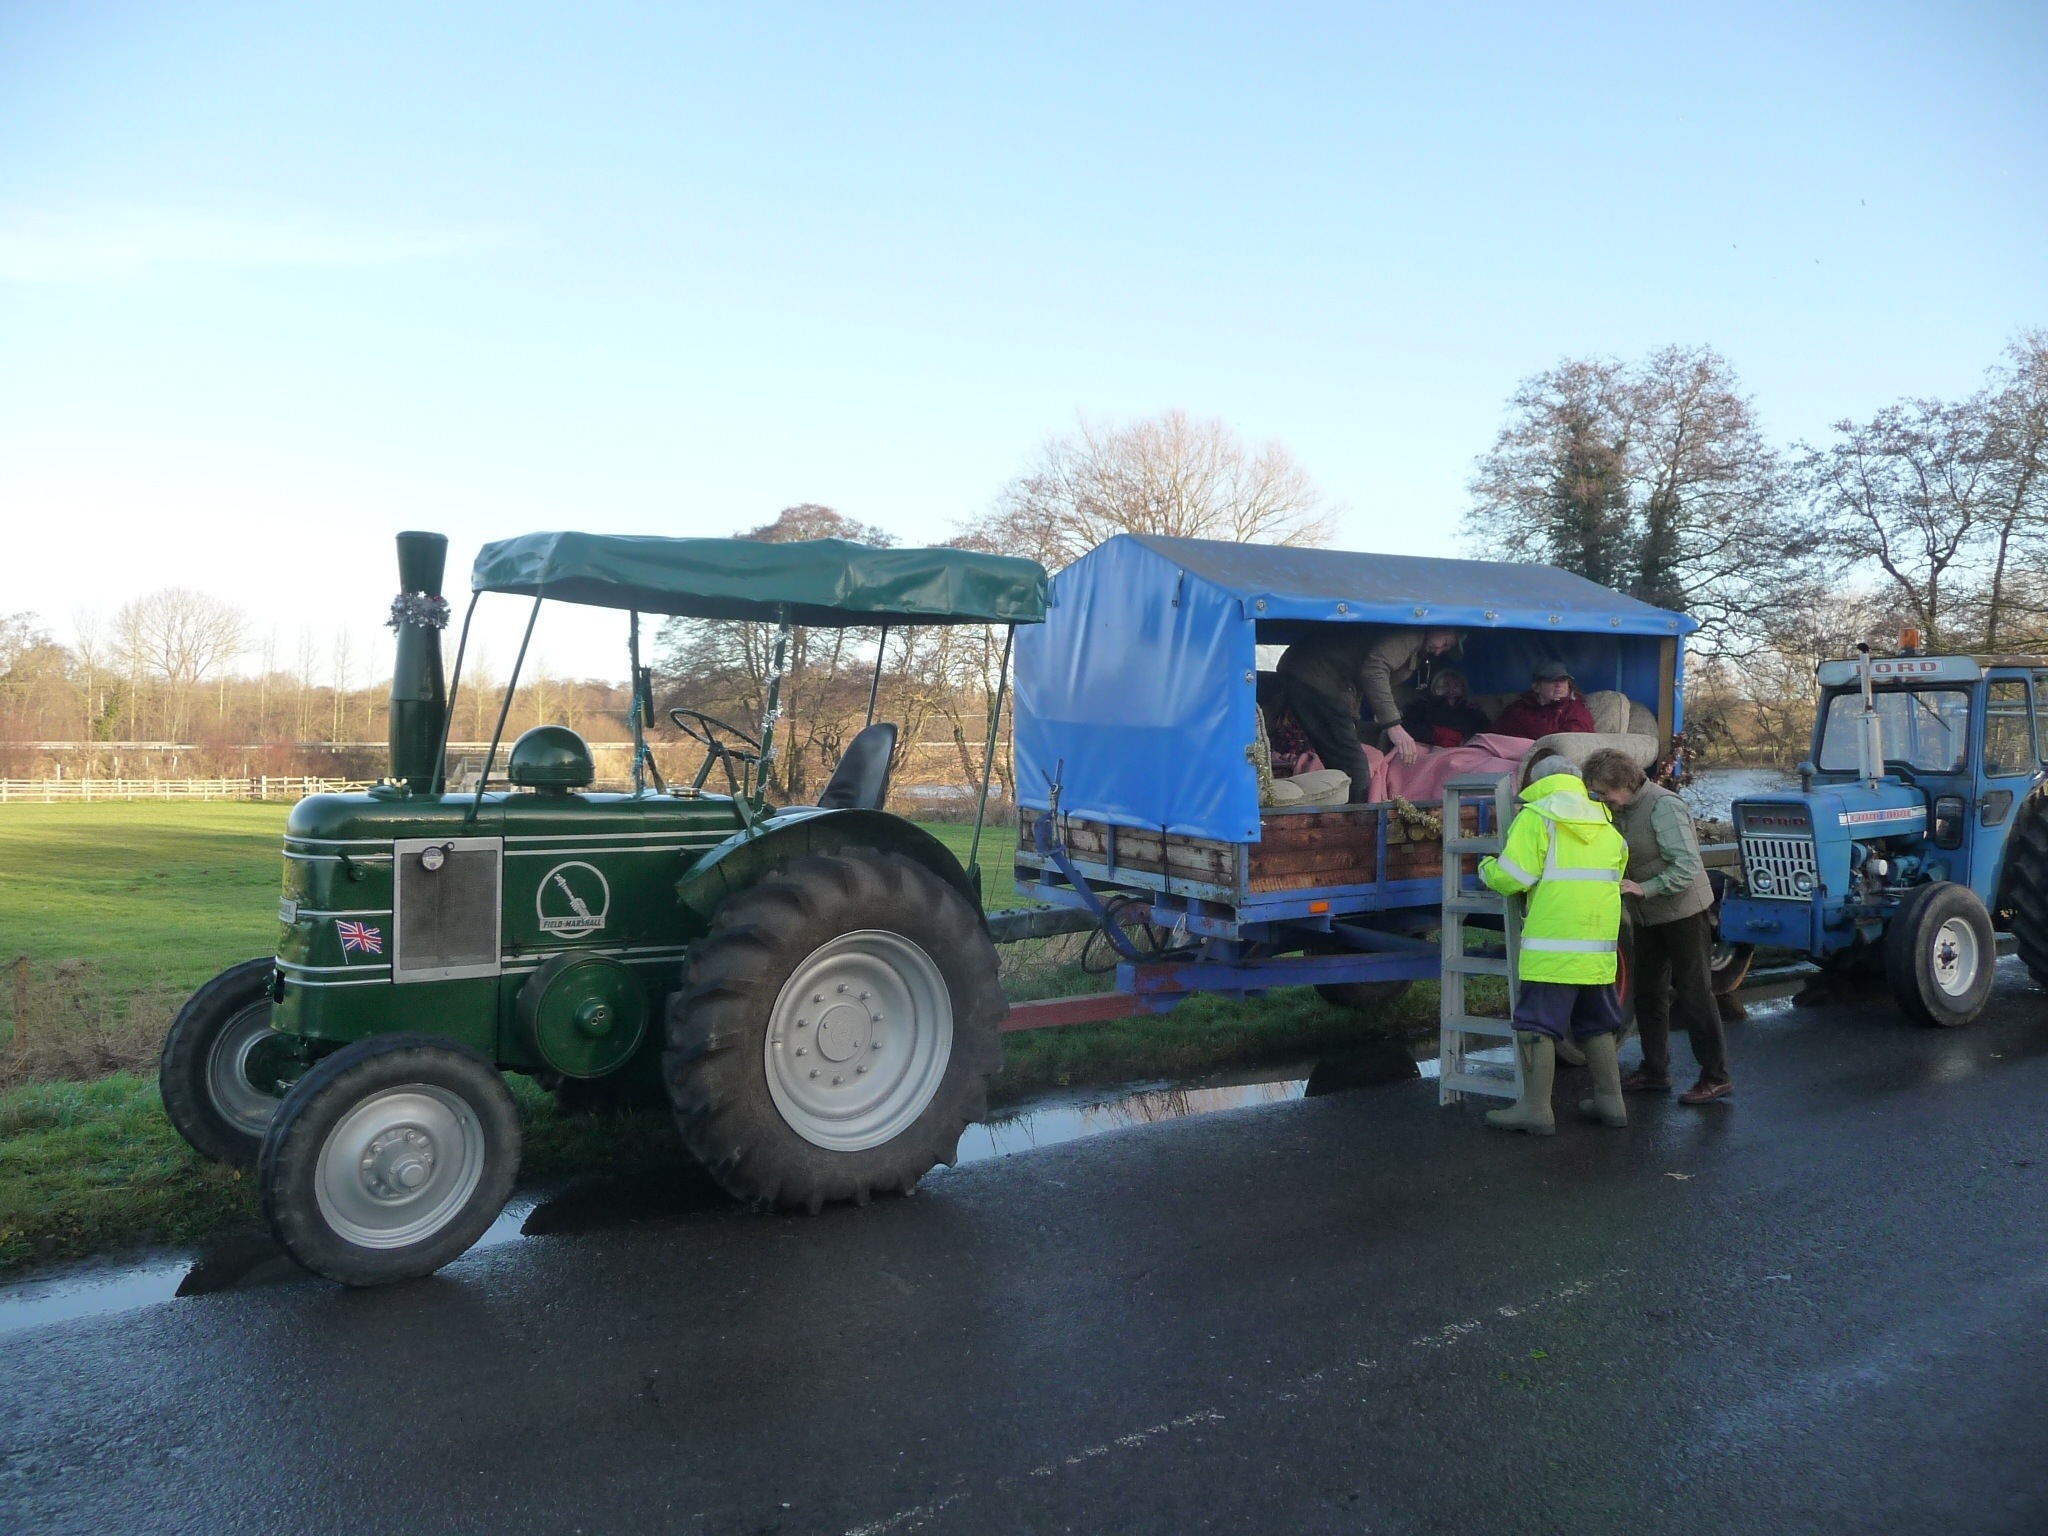
Boxing Day Road Run
At the Larling Angel


The missing link(age)
This evening I managed to remove the link arms and lift rods from Freida. I’ve spent days soaking the seized clevis pins and linkage knuckles in WD40 and trying to club them out with my trusty 3lb ball pein, to no avail.
With no heat source available to make the knuckles glow before smacking the rusted pins out, I decided that the only option available was to cut through the pin with a cutting blade on an angle grinder, in the gap between the knuckle and the lift arm fork.
After doing so I discarded the knuckles, lift rod and link arms as they have had it. Although the coffee grinder is still good.
Pics to follow, as I’ve yet to requisition a camera.
Jake,
Salty nuts…

^This^ is/was a tow hitch that Michael and myself designed and made for use on a cat 1 three point linkage. “Great!” you may think. But Freida has no working linkage at the moment? So I’ve had a re-think.
On the underside of the differential/axle casting there are four 5\8″ Whitworth studs set into it for the use of attaching a Ferguson hitch. So I’ve spent the past hour removing said studs and nuts, wire wheeling them up, re-tapping/dieing where neccesarily and inserting them to the correct dept into the casting. As they were highly corroded/pitted from the sea and years of moisture, (And I was taught that salt was a preservative. Hahaa) And some clown hadn’t screwed them in all the way, or gave up when the nuts siezed to them.
I plan to bolt a simple frame onto these holes which extends 10″ rearward, roughly inline with the rim of the wheel. Here, I shall mount my towball.
Jake,
———————————————————————————–
Much like this fine piece of engineering.

Mike,
Leyland glow plug and head gasket replacement
When I first purchased the Leyland it was impossible to start without using easy start, not ideal! However after some testing with a multimeter it turned out that all the glow plugs had failed open circuit, this should have been a simple job, but when I removed the plugs from the head I was greeted by this motley crew;

The tractor had been run with dead plugs for so long that carbon had built up solidly round the tips and caused them to break off when the body of the plugs were un-screwed, the only way to remove the stubs was going to be lifting the head…

Once the head was on the bench the next challenge was to knock out the combustion chambers, eventually achieved using a specially curved rod inserted through the injector hole and hit with a hammer;

Once the stubs from the injector were punched out, the remaning carbon deposits were cleaned out using a 11/64 drill, and the head was de-coked and refitted with a new gasket.

Since then cold starting has not been a problem, no easy start required.
Salad Cream

Great, I remove the PTO lever housing from my Ferguson to find it’s full of almost fully emulsified back end oil and water.
It’s gunna get replaced anyway as I’m in the process of diagnosing why I have no lift at the rear of “Freida”.
